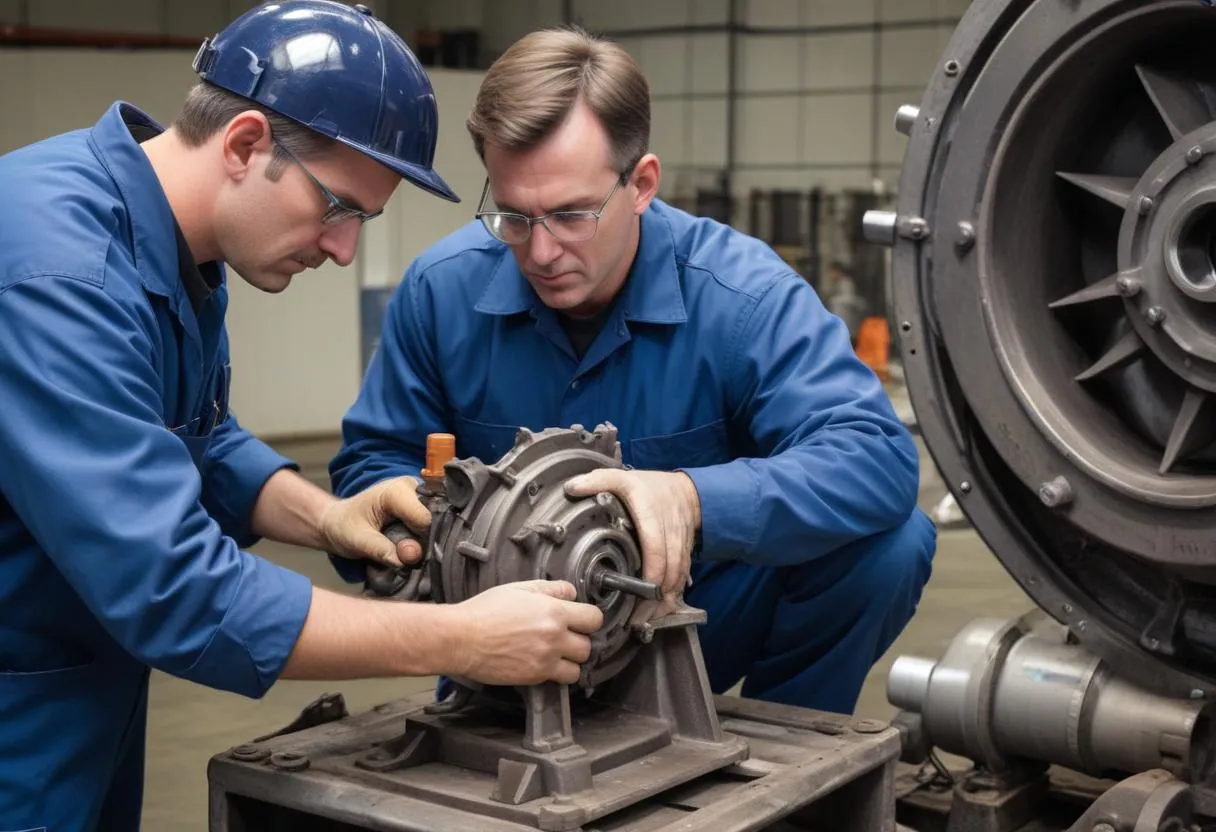
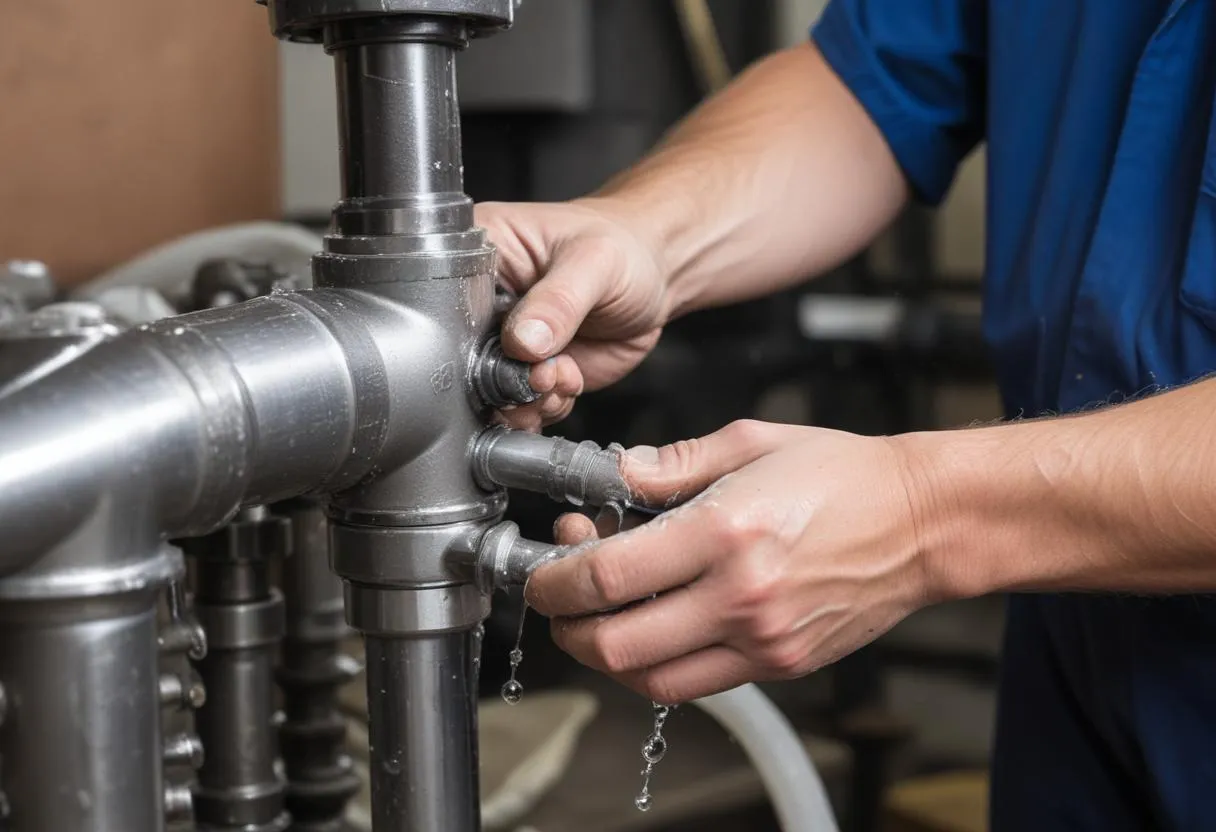
 Before starting the priming process of a centrifugal pump, it’s crucial to properly prepare both the pump and the system. Ensuring that each component is in optimal condition will facilitate a smooth priming session and extend the lifespan of your equipment.
Inspection and Cleaning: Begin by thoroughly inspecting the pump and its associated components. Look for any signs of wear or damage on the pump casing, impeller, and seals. Any debris or obstructions in the pump should be cleared out. It is important to check that the suction and discharge lines are free from blockages or leaks, as these can significantly impair the pump’s ability to function efficiently.
Checking Alignment and Connections: Verify that all connections, particularly those involved in the suction line, are secure and airtight. Even minor leaks can cause air to enter the system, thereby hindering the priming process. Ensure that the pump shaft and motor are properly aligned according to the manufacturer’s specifications. Misalignment can cause excessive vibration, leading to premature wear and failures.
Filling the Pump with Liquid: The pump needs to be filled with the liquid that is to be pumped. This step is often referred to as wet priming. If the pump is not self-priming, manually filling the pump casing with fluid helps initiate the suction process when the pump starts.
Filling the Suction Line: If possible, fill the suction line with fluid prior to starting the pump. This can be done by opening a valve that allows liquid from the source (whether a reservoir, feed tank, or other systems) to flow into the suction hose and up to the pump. This reduces the amount of air that needs to be evacuated during priming.
Ensuring Adequate NPSH: The net positive suction head (NPSH) available must meet or exceed the NPSH required by the pump. This prevents cavitation within the pump, which can cause damage. Check the system’s pressure and temperature to ensure they are conducive to maintaining adequate NPSH.
Setting Up Auxiliary Equipment: If your pump setup includes auxiliary systems such as heating or cooling jackets, or if there are filters, strainers, or separators, check that these are all in good working order and correctly configured.
Here is a summary table of essential preparatory actions for a centrifugal pump:
| Action | Description | Purpose |
|---|---|---|
| Inspection and Cleaning | Examine and clean pump, suction and discharge lines. | Prevents malfunction or inefficiencies. |
| Check Alignments and Connections | Ensure connections are tight and alignments are per specification. | Avoids leaks and vibrations. |
| Filling the Pump and Suction Line | Manually add liquid to pump and line if necessary. | Facilitates initial suction and priming process. |
| NPSH Requirements | Verify that available NPSH is adequate. | Prevents cavitation and damage. |
| Auxiliary Equipment Check | Inspect and adjust auxiliary components as needed. | Ensures overall system efficiency and reliability. |
By following these steps meticulously, you set the stage for a successful priming of your centrifugal pump, minimizing potential operational issues and extending the service life of your equipment.
Step-by-step priming procedure
To begin the step-by-step priming procedure for a centrifugal pump, ensure you have followed all preparation steps, as detailed above. The following guide will walk you through the priming process:
- Start with a Closed Discharge Valve: Ensure the discharge valve is closed before starting the pump. This helps to create a vacuum in the pump casing, aiding in the suction of the liquid.
- Activate the Pump: Turn on the pump. The initial operation should be with the discharge valve closed to help establish the prime. Monitor the pump during startup to ensure there are no unusual noises or vibrations.
- Slowly Open the Discharge Valve: Gradually open the discharge valve while observing the pressure gauges and flow meters. Adjust the opening rate based on the pressure build-up and the flow rate to avoid system shocks.
- Check for Proper Flow: Confirm that the liquid is flowing smoothly through the system. You should see a steady reading on the flow meter, which indicates that the pump is fully primed.
- Monitor System Pressure: Keep an eye on the pressure readings during the initial minutes of operation. Any drops or spikes in pressure could indicate issues with priming or system integrity.
- Adjust Pump Speed and Controls: Based on the operational requirements and the system’s response, adjust the pump speed and controls to achieve optimal performance.
- Inspect for Leaks: After the pump has reached operational stability, check for any leaks in the suction and discharge lines. Addressing leaks immediately is crucial to maintaining prime.
- Regular Monitoring: Continue to monitor the pump and system for any changes in performance or irregularities in the pressure and flow readings. Regular observation helps in early detection of problems that could affect priming.
During the priming process, it is essential to maintain a vigilant watch on all parts of the system. Notice any abnormalities in sound, such as grinding or rattling, which could indicate trapped air or misalignments. Ensure ongoing documentation of all gauge readings and system adjustments for future reference and troubleshooting.
Adhering to these steps will lead to efficient and effective priming of your centrifugal pump, ensuring maximum productivity and minimized downtime for maintenance and repairs. Always refer to your pump’s specific manual for any additional guidelines or requirements unique to your model. Proper priming is a critical component in pump operation and plays a significant role in the performance and longevity of your system.
Troubleshooting common priming issues
 While diligently following the steps to prime a centrifugal pump can lead to a successful operation, there are occasions where you might encounter issues that prevent the pump from priming correctly. Understanding how to troubleshoot common priming issues can save time, reduce potential damage, and get your system up and running smoothly. Below are some frequently encountered priming problems along with strategies to resolve them.
Air Leaks in the Suction Line
Air leaks are a primary culprit in priming failures. If air enters the suction line, it can break the vacuum necessary for maintaining prime.
- Inspection: Check all joints, seals, and fittings along the suction line. Use soapy water to identify any air leaks—bubbles will form where leaks are present.
- Resolution: Tighten fittings and replace worn seals or gaskets as necessary.
Clogged Suction Strainer or Filter
A blocked strainer or filter can restrict fluid flow into the pump, making it difficult to achieve and maintain prime.
- Inspection: Examine the strainer or filter for blockage.
- Resolution: Clean or replace the strainer or filter to ensure unrestricted flow.
Inadequate Liquid Levels
Insufficient fluid level in the supply tank or reservoir can lead to the ingestion of air instead of liquid.
- Check: Ensure that the liquid level in the supply reservoir is above the pump’s suction inlet.
- Adjust: Add more liquid to the reservoir to maintain adequate levels for suction.
Incorrect Pump Speed
Operating a pump at a speed too low to generate adequate suction can result in priming failure.
- Check: Review the pump’s operational manual to confirm the recommended speed settings.
- Adjust: Increase the pump speed according to the manufacturer’s specifications.
Valve Misconfiguration
Incorrectly configured valves can inhibit the flow necessary to establish and maintain prime.
- Inspection: Verify that all valves in the suction and discharge lines are in the proper position.
- Resolution: Open or close valves as needed to facilitate correct flow paths.
Impeller Issues
Damage to the impeller can affect the pump’s ability to create the necessary vacuum for priming.
- Examine: Check the impeller for signs of damage or wear.
- Resolution: Replace the impeller if damaged; ensure it is correctly installed and aligned.
Vapor Lock
Vapor lock occurs when vapors or gases are trapped in the pump or its inlet line, preventing proper liquid flow.
- Identify: Look for signs of vapor accumulation, such as fluctuating pressure readings.
- Eliminate: Bleed trapped air or gases from the highest point of the pump or suction line.
| Issue | Symptom | Action |
|---|---|---|
| Air Leaks | Bubbles, Loss of Prime | Inspect and seal leaks |
| Clogged Strainer/Filter | Reduced Flow, Strain on Pump | Clean or replace component |
| Inadequate Liquid Levels | Pump Taking in Air | Replenish liquid supply |
| Incorrect Pump Speed | Inefficient Priming | Adjust speed settings |
| Valve Misconfiguration | Improper Flow Direction | Adjust valve positions |
| Impeller Damage | Noisy Operation, Vibration | Inspect and replace impeller |
| Vapor Lock | Erratic Pressure Readings | Vent to remove trapped air/gases |
By systematically addressing these common issues, your centrifugal pump should be able to achieve and maintain prime effectively, thereby ensuring optimal performance and reliability of your pumping system. Always refer to manufacturer guidelines and consider consulting with a professional if issues persist despite your troubleshooting efforts.